Ledger.com/start — Reimagine the Login & Code Design
A step-by-step, visually creative, and developer-aware walkthrough to set up Ledger hardware wallets via Ledger.com/start — redesigned code, UX-focused layout, and practical security guidance for beginners to mid-level crypto users.
Why redesign Ledger.com/start?
Ledger's onboarding page is the gateway for thousands of users to initialize a hardware wallet, configure their PIN and recovery seed, and connect to Ledger Live. A fresh code design improves clarity, reduces user error during setup, and strengthens the trust signals users need when handling private keys and seed phrase recovery.
This guide blends UX heuristics with secure development practices: clear affordances, progressive disclosure, accessible controls, and microcopy that reduces dangerous mistakes such as revealing a recovery phrase or falling for phishing. Along the way, you’ll find a unique visual layout, code design suggestions, and copy-ready sections you can adapt into your product pages.
Quick facts
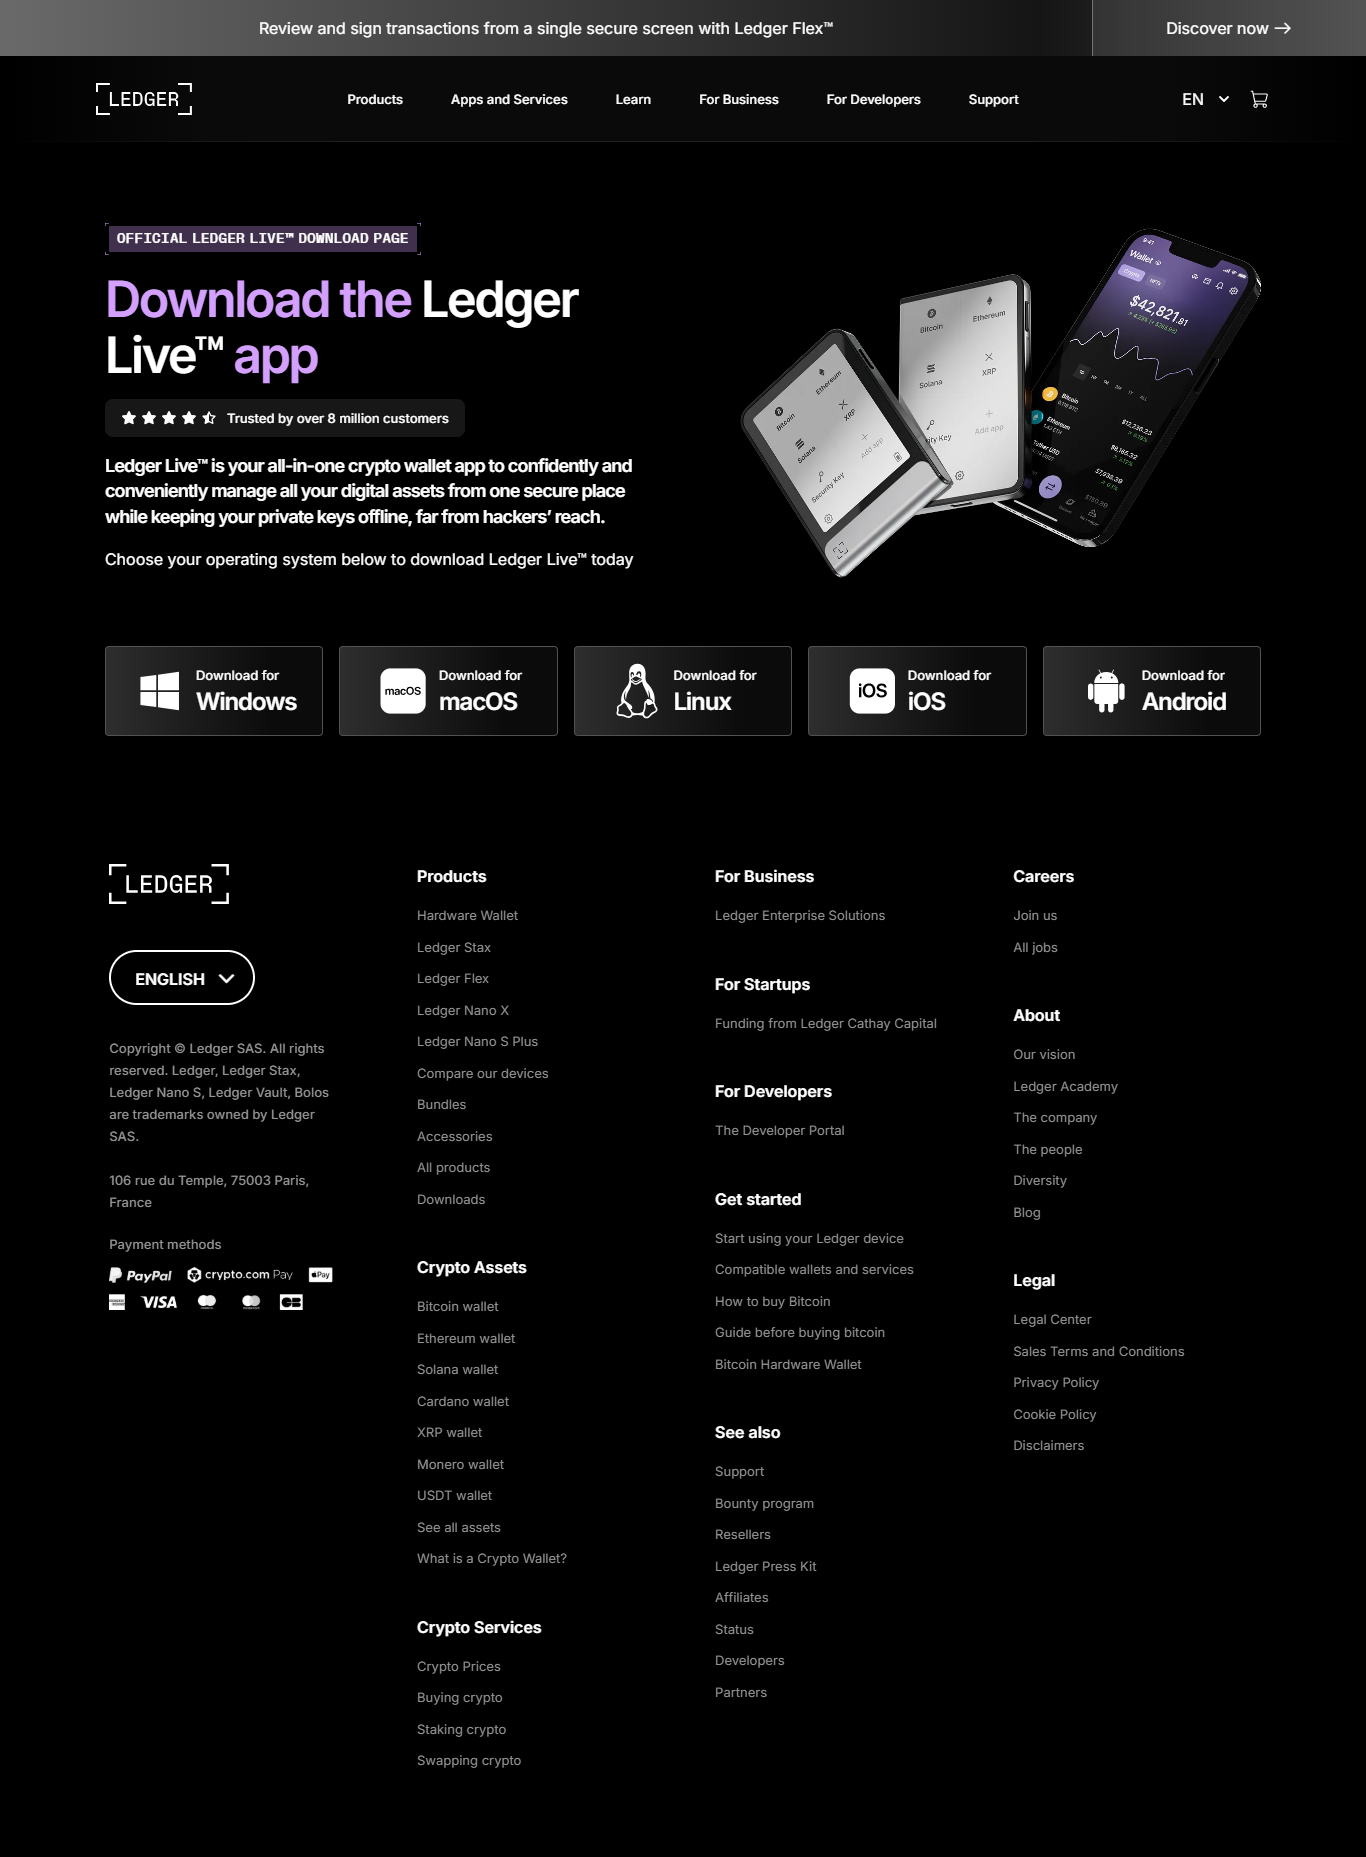
Hero idea — trust-first
The hero on Ledger.com/start should convey authenticity: strong logo lockup, secure device imagery, a clear primary CTA (Download Ledger Live), and a prominent ‘Verify URL & Safety’ banner that educates users on phishing.
Microcopy refinements
- Instead of: “Write down your recovery phrase” → “Write your 24-word recovery phrase on the included card, never store it online.”
- Action labels: Use verbs like “Install & Initialize” rather than “Get Started” for clarity.
- Warnings: Short, bolded warnings inline with the flow reduce context switching.
A fresh, user-friendly setup flow (proposed)
- Verify the URL — Show a permanent top-bar verification chip that confirms the domain and a green “Official” badge. Microcopy: “You are on Ledger.com/start — Ledger products only.”
- Download Ledger Live — Single CTA that redirects to OS-specific installers with checksum and PGP signature links displayed (for advanced users).
- Connect your device — Visual animation showing where to plug the USB / how to connect via Bluetooth for Ledger Nano X. Offer an accessibility alternative for keyboard users.
- Set your PIN — Explain PIN length, avoiding easily guessable combos; show an entropy meter and recommended patterns.
- Write recovery seed — A protected step: display “Show recovery seed” only after a friction checkpoint (confirming physical device in hand). Provide a downloadable printable recovery card template (offline-only).
- Confirm & finish — Run a tiny confirmation flow where users validate two random words from their seed and sign a small nonce to ensure wallet is recoverable.
Step box — developer-friendly
Expose a code snippet (minimal) showing the checksum verification flow for installers and the PGP fingerprint. Small, copyable block, and a link to “verify with CLI” for technical users.
Design system & code considerations
A consistent design system reduces user friction. Use a limited palette, strong contrast for warnings, and accessible font sizes. Below are specific recommendations for the codebase and UI components on Ledger.com/start:
- Button hierarchy: Primary (Download Ledger Live), Secondary (Learn how to verify), Tertiary (Advanced / CLI verify).
- Progressive disclosure: Hide advanced security details behind “Advanced” toggles to keep the main path simple.
- Offline-first assets: Provide a printable PDF recovery card and a checksum file users can verify locally — avoid forcing network calls during seed writing.
- Accessibility: Keyboard-first flows and ARIA attributes for screen readers, especially for dynamic verification steps.
Security-first UI patterns
Design patterns that prevent mistakes:
- Read-after-action confirmations: Short summaries after each step (e.g., “PIN set. Recovery card printed?”)
- Destructive action blockers: Require holding a button for 3 seconds on the device before showing the seed.
- Anti-phishing helpers: Show the last 4 digits of the connected device’s serial on the page and on the device to confirm pairing.
Developer snippet (pseudo)
// Pseudo: verify installer checksum
fetch('/checksums.json')
 .then(res => res.json())
 .then(list => {
   const os = detectOS();
   const expected = list[os];
   const file = document.querySelector('#installer').files[0];
   computeSHA256(file).then(hash => {
     if(hash === expected) showSuccess();
     else showWarning('Installer checksum mismatch');
   });
 });
(Keep cryptographic checks client-side — plus provide PGP-signed manifests for power users.)
Comparison: Current flow vs. Proposed flow
| Aspect | Typical current flow | Proposed redesign |
|---|---|---|
| URL verification | Implicit, user must notice | Persistent verification chip & badge |
| Seed reveal | Immediate once device allows | Friction checkpoint + hold-to-confirm |
| Installer verification | Optional, buried docs | Checksum + PGP shown inline |
| Accessibility | Limited | Keyboard nav + screen reader improvements |
Common user mistakes and how the redesign prevents them
Mistake: storing seed digitally
Solution: Strong microcopy + “never copy to clipboard” enforcement. Offer printable card and recommend safe deposit box options.
Mistake: fake login pages
Solution: Persistent domain chip, verified site badge, and education modal about phishing—showing a clear example of a fake domain.
Mistake: weak PIN
Solution: Entropy meter and disallow common patterns; require minimum length and an optional passphrase recommendation.
Mistake: skipping firmware update
Solution: Inline firmware health check and blocking UX (cannot proceed without updating when critical).
Real-world storytelling: Sarah’s first setup
Sarah, new to crypto, visits Ledger.com/start. The redesigned hero reassures her this is the official page. She downloads Ledger Live, follows the clear steps, and when shown the “Hold the device button for 3 seconds to reveal seed” prompt, she understands why this extra step prevents shoulder-surfing and accidental reveals. She writes her seed on the printable card and stores it in a fireproof box. The microcopy and progress confirmations reduce her anxiety and make the experience smooth.
Terms used naturally in the guide: seed phrase, hardware wallet, private key, cold storage, blockchain, ERC-20.
FAQ — focused, quick answers
A: Yes — users should always verify they are on Ledger.com/start. Look for the verification badge and checksum links before installing any software.
A: To allow advanced users to verify installer integrity. Checksums prevent tampering, and PGP signatures provide cryptographic proof of origin.
A: Yes — Ledger can be used with third-party apps (e.g., MetaMask) for ERC-20 interactions, but Ledger Live simplifies updates and device management.
Final checklist — onboarding at a glance
- ✅ Confirm you are on Ledger.com/start.
- ✅ Download Ledger Live and verify checksum/PGP if comfortable.
- ✅ Connect your Ledger device, install firmware if prompted.
- ✅ Set a strong PIN and consider an extra passphrase for hidden wallets.
- ✅ Write your 24-word seed on the printable card — never store digitally.
- ✅ Test recovery by confirming two random words; keep seed offline and safe.
Conclusion — Ledger.com/start (code desinge change add new uniqe desingh)
Reworking Ledger.com/start is about building trust through clarity. The code and UI suggestions above prioritize safety-first interactions, reduce risky user behaviour, and give developers the tools to implement verifiable installs and offline-first recovery options. Whether you're a newcomer learning about hardware wallets or a product team iterating on onboarding, this design approach balances approachable UX with the strict security Ledger users expect.
Remember: a hardware wallet protects your private key and your path to self-sovereignty. A well-designed start page ensures that protection begins the moment a user lands on Ledger.com/start.